| Home Page
Photos When I bought her
Repair Pictures
More Repair Photos
Even More Repair Photos
Power Steering Installation
Attachment Photos
What's New Page
Contact Page
Favorite Links
FORUM PAGE
A DEXTA Story
Miscellaneous
|
|
Pictures of my Repairs
These are my repairs so far.
|
|
|
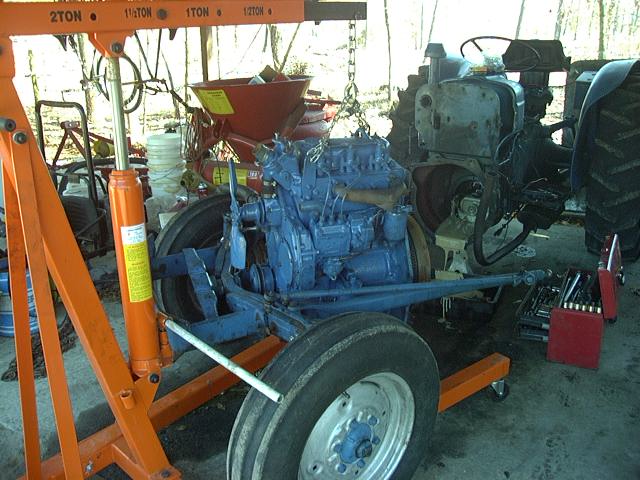
Replacing clutch & Transmission Input Seals
After I rebuilt and installed my engine, the clutch was partially functional. It would work, then not, go in gear then not stop, then work fine. Damn dangerous.
While I was in there, I decided to replace both the transmission input seals, which was one of the things that damaged the clutch.
BTW-The "yellow" stuff oozing from the bell housing is humidity contaminated fluid. Here in NC, I have to change fluid annually due to the high humidity. The hydraulics burn off the moisture. |
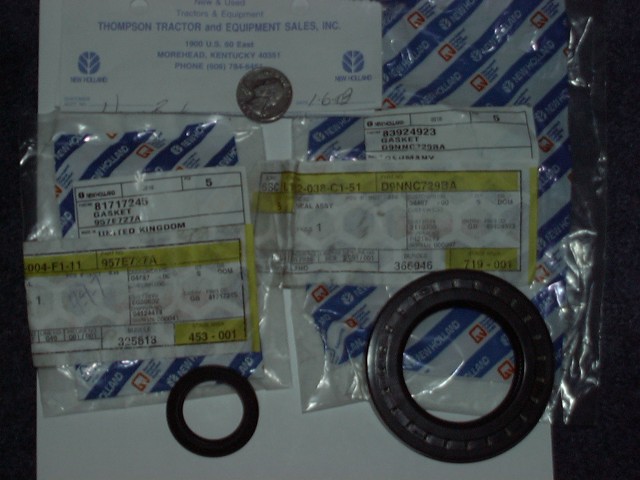
The New Seals
My F-NH dealer could not find the parts. After a question on the internet, a fellow from Kentucky (Mark)(Capbuster) gave me the part numbers and his dealership there who had them both on the shelf.
Thompson Tractor Sales
1900 US 60 East
Morehead, Ky. 40351
(606)784-6461
PN: D9NNC729BA is the large input seal behind the large bearing and lock-ring. PN: 81717245 (957E727A) is the little seal in the front of the shaft at the tip, which fits next to the shaft needle bearings. BTW, I could have used a Q-tip and clean both my seals up and they would have been fine. I replaced them both, and they are now fine, too.
|
|
|
|
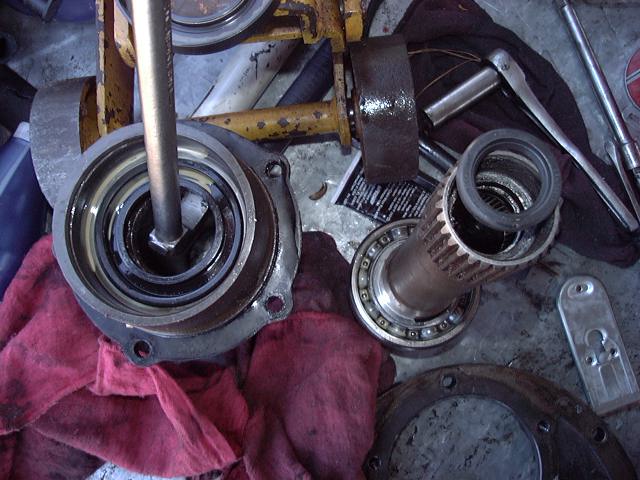
Where The Tranny Input Seals Go
On the left, the bearing ring retainer and bearing is removed and a pry bar is simulating pulling the seal. The seal spring faces the bearing. The little seal inner spring side goes toward the needle bearings. In this picture, the old little seal is still installed, the new seal lying there for demo only. |
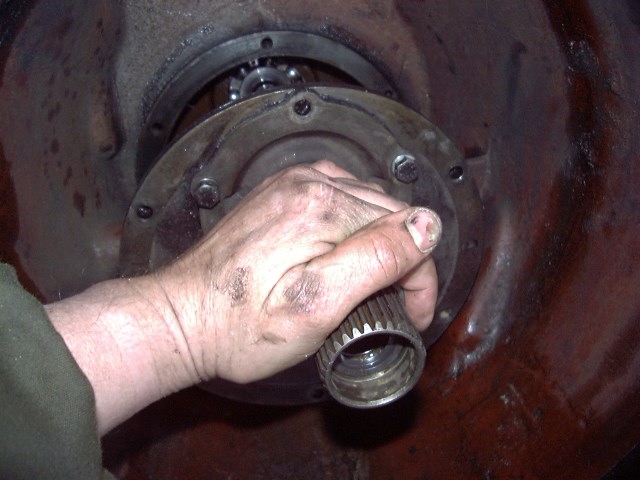
Installing the Tranny Input Cone & Face Plate
The input cone and faceplate are removed and installed as an assembly. I took the picture on installation, because its a little cleaner than the removal picture.
|
|
|
|
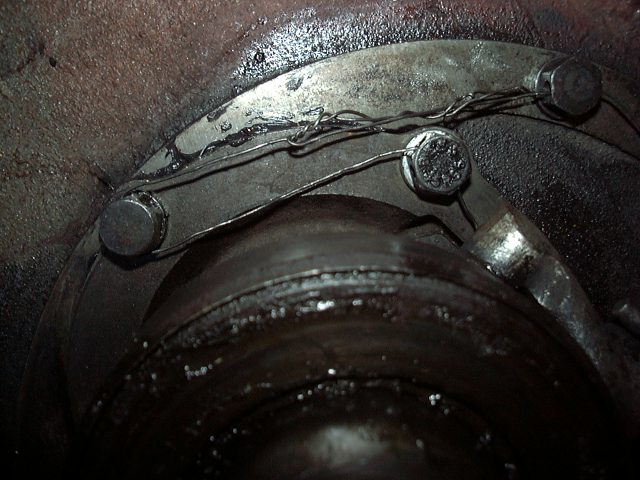
Lace the Bolts After Torque
When you have the cone and plate bolts torqued in, lace all of them together to keep the bolts from loosening. Any lace-pattern that will connect all the bolts and keep them from turning will work. |
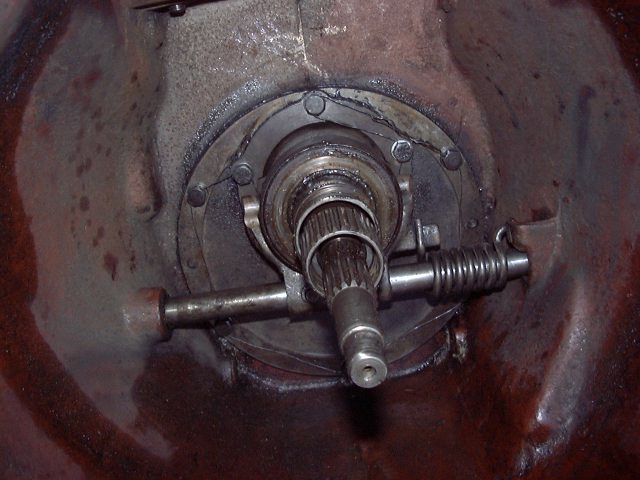
Back Together
The clutch cross-shaft slides in - from the left. There are replaceable shaft bushings on the end which slide into the bell housing. Figuring out the bearing carrier is simple, and with the spring, I attached it behind the carrier first then used a #2 flat-tip screwdriver to snap the other end behind the left side bell spring retainer slot. Too EZ.
|
|
|
|
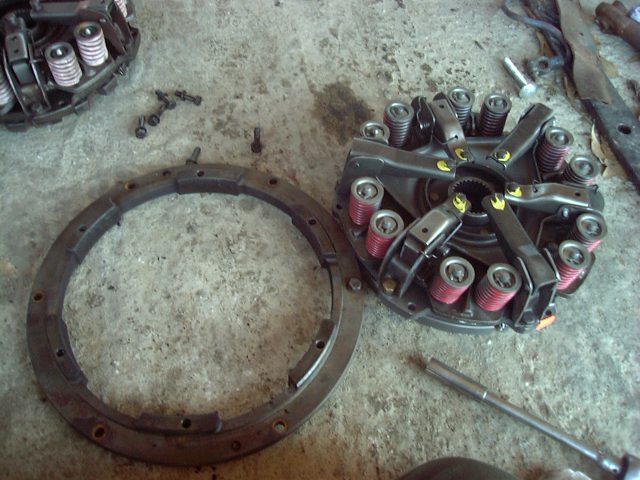
Clutch Pack with Flywheel Mounting Ring Removed.
Old Clutch in background, mounting ring and new dual clutch pack. My old clutch had a drive disk that was crumbling, due to tranny oil and rivets ripped from the disk center. Additionally one spring arm had a screw missing and arm was twisted. It had been pulling OK like that; well with what power the engine made...
I purchase my clutch from Gulf South Tractor Parts. See LINKs for contact info. Best price I could find.
|
|
|