| Home Page
Photos When I bought her
Repair Pictures
More Repair Photos
Even More Repair Photos
Power Steering Installation
Attachment Photos
What's New Page
Contact Page
Favorite Links
FORUM PAGE
A DEXTA Story
Miscellaneous
|
|
Even More Repair Photos
When you can have fun fixing up an old tractor and get to use it too, well life's so much fun.
|
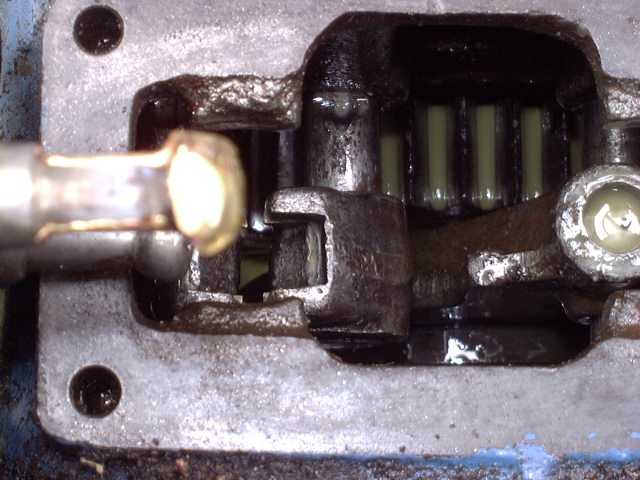
DEXTA SHIFTER WELD FIX
After removing the shifter, the first step is to build up the end. For this I use oxy-acetylene and brazing rod. Grind it down, just until it is the same size as the shifter forks.
Grind it just enough till the shifter fits in the forks. Install the shifter, and install two bolts. I prefer to grind it just enough so that it moves, but does not shift. Remove the shifter.
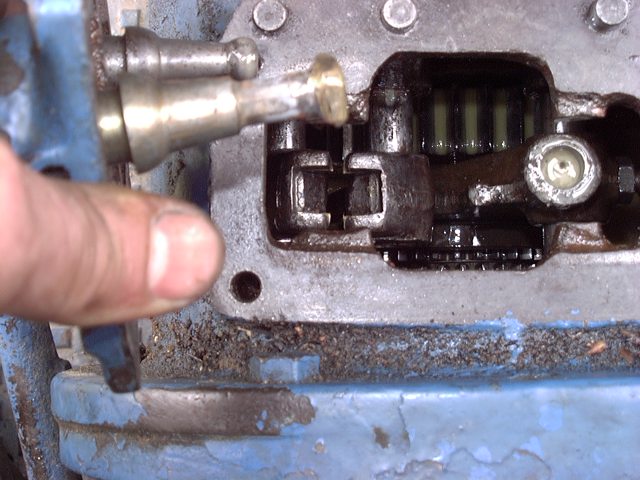
You're finished with the grinder. Now finish the job with a flat file. File and install, in increments, just until it starts shifting.
|
|
Shifter Job DONE!
File and fit until you get a match.
The shifter is turned so that you get a perspective of the corners.
Size correspond to wear on your shifter forks. If you look closely at these two pictures, you can actually see the wear on my "Baby's" shifter forks.
|
|
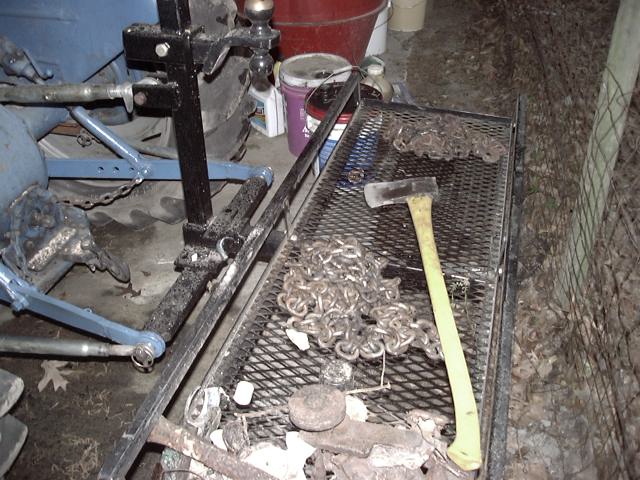
My Goose-neck/RV/Trailer 3 PH Mover
Saw pictures of these things. Said, "HECK--I CAN DO THAT!"This is the initial work on mine. I still have to add an angle receiver, for boom-pole and hay bale spearing.
I still have the side brackets to install and the rear support strip.
Use it to move my GN horse trailer.
DEFINITELY WORKS!
|
|
is STILL
|
|
Under construction
|
|
Be Patient
|
|
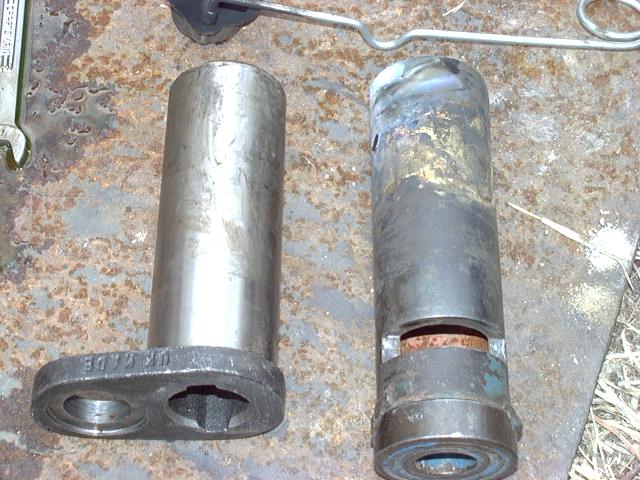
Pivot Pin Comparison
The MF Pin is on the left, and the OEM DEXTA Pin is on the right. My OEM pin had a 5/8" ID bearing welded to the end for loader drive shafts.
I won't be putting a bearing on my pivot pin.
You can see where I had brazed my old pin and used it for quite a while.
But, I must say, it was not as tight as the new pin and bushing. BTW- the bushing made the difference. |
|
|
|